
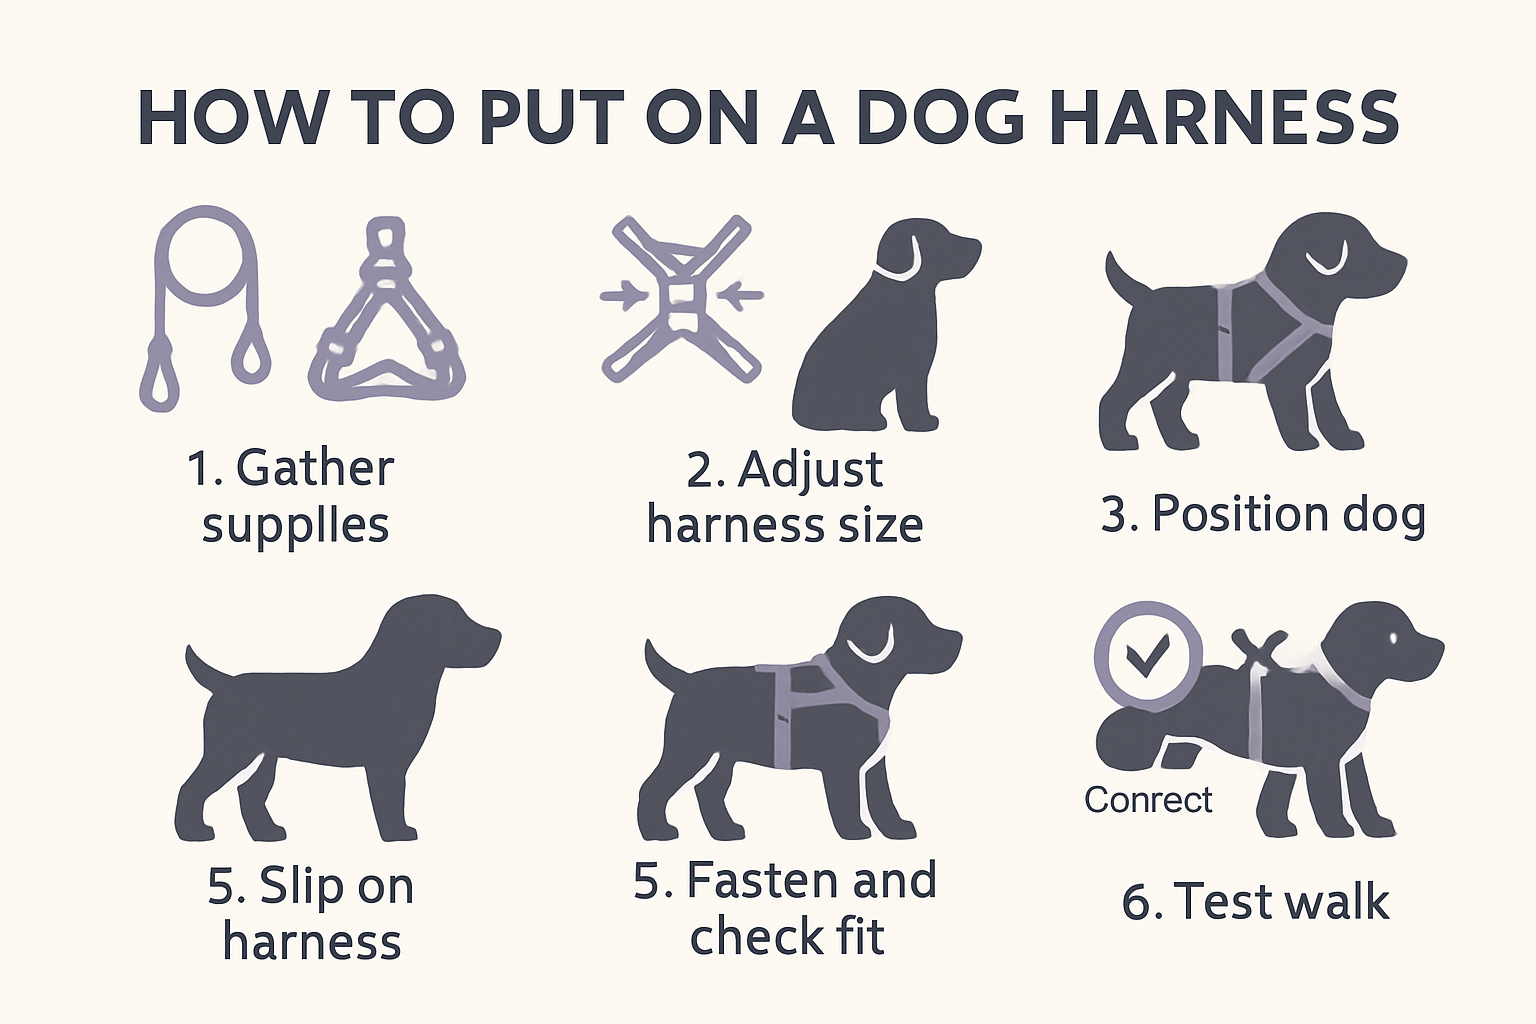
How to Put on a Dog Harness: A Step-by-Step Guide
Fitting a harness on your dog can seem simple, just like clipping in a lead. Yet over 60 percent of owners unknowingly use a harness that does not even fit their dog properly. Most people focus on the walking and forget that the secret to happy walks starts long before you step outside. The real difference comes down to the small details in preparation and fit that most skip over entirely.
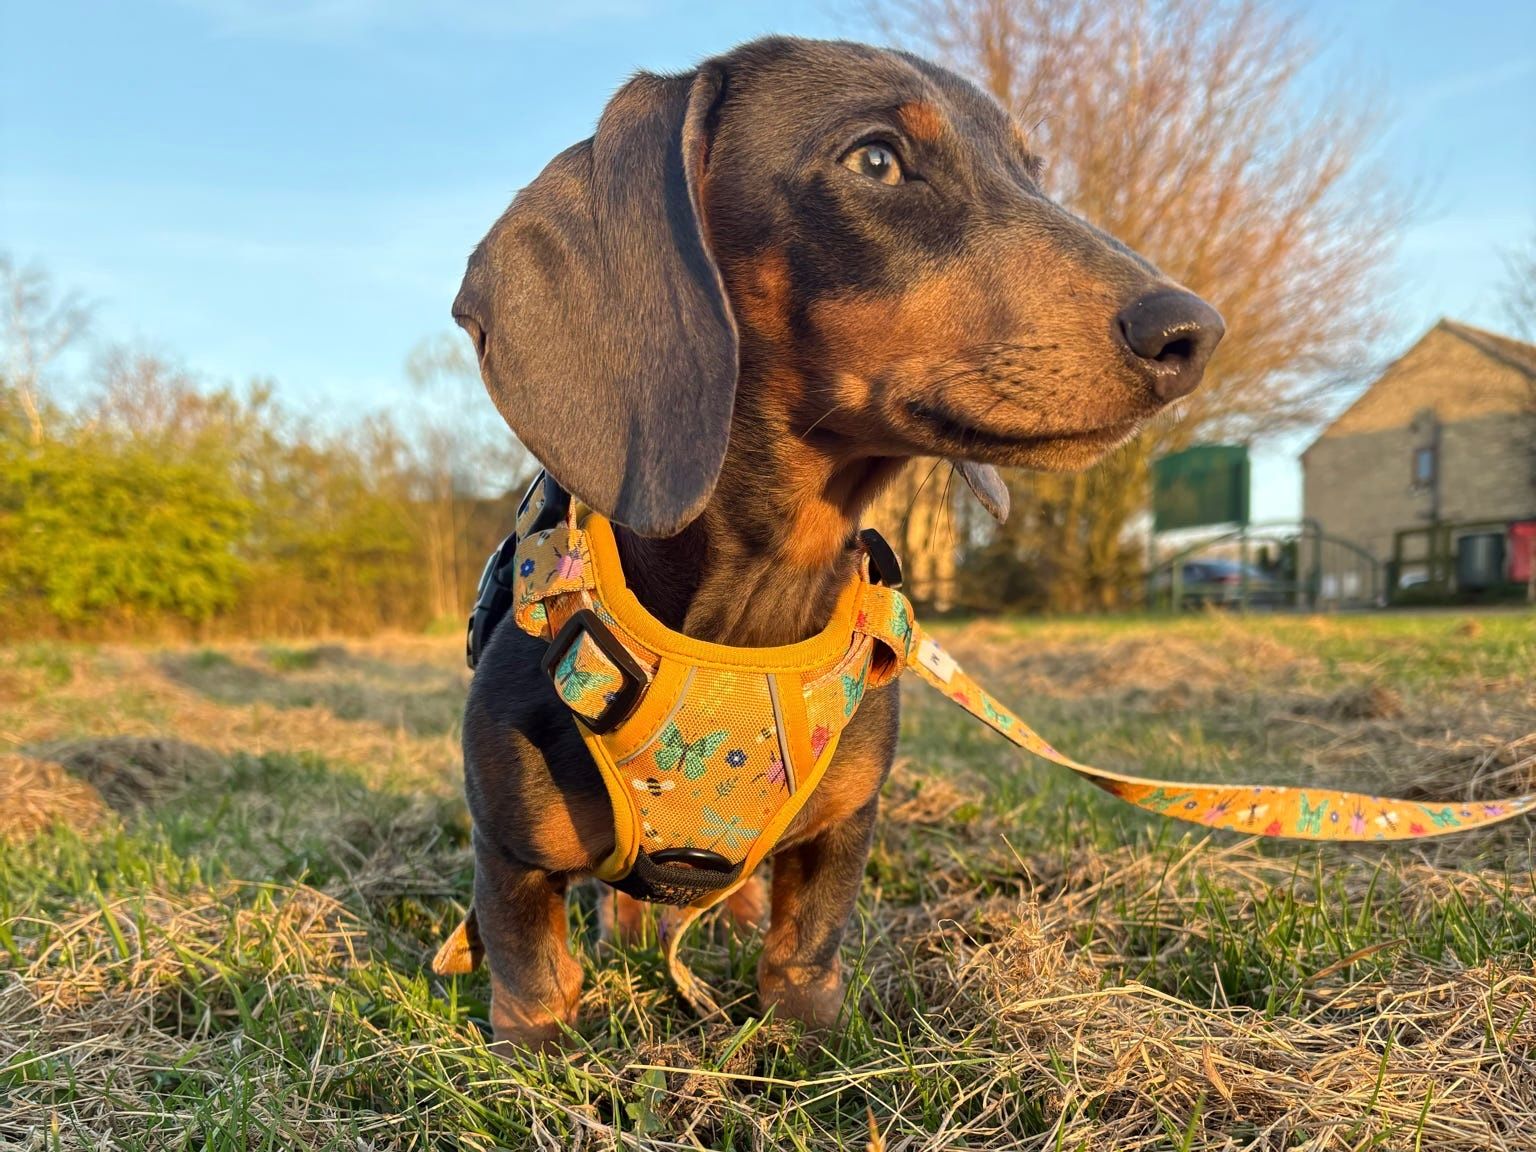
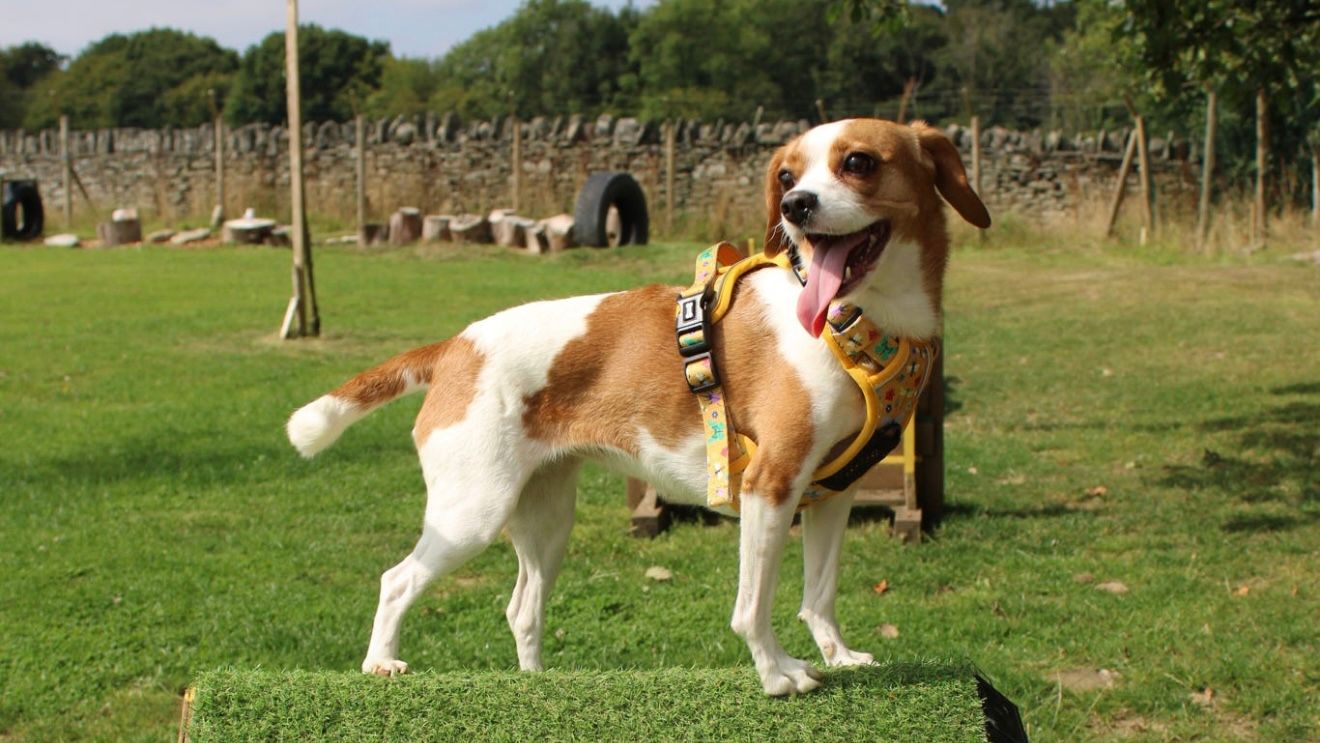 Image @themischievoussisters
Table of Contents
Quick Summary
| Key Point | Explanation |
| 1. Choose the right harness size | Measure your dog’s chest and weight to select a properly fitting harness for comfort and safety. |
| 2. Practice patience and calmness | Maintain a relaxed demeanour to help your dog associate the harness positively, especially if they show anxiety. |
| 3. Ensure proper harness adjustment | Tighten straps to allow two fingers’ width for a snug yet comfortable fit, preventing slips or discomfort. |
| 4. Position your dog in a familiar space | Select a calm area to reduce anxiety, allowing your dog to feel more secure during the fitting process. |
| 5. Conduct a test walk to assess fit | Observe your dog’s movement during a short walk to confirm the harness fits correctly without causing discomfort. |
Step 1: Gather Your Dog’s Harness and Accessories
Successfully putting on a dog harness begins long before the actual fitting process. Preparation is key to ensuring a smooth, stress-free experience for both you and your canine companion. Before attempting to harness your dog, you will need to collect several essential items that will make the process more manageable and comfortable.
Start by selecting the right harness for your dog’s size and breed. Not all harnesses are created equal, and choosing one that fits properly is crucial for your dog’s comfort and safety. Measure your dog’s chest circumference and weight to determine the appropriate harness size. If you are unsure, many pet stores offer fitting services or have staff who can help you select the correct size.
Alongside the harness, gather a few additional accessories that will help make the process smoother. Recommended items include:
-
Treats for positive reinforcement
-
A calm, quiet space for fitting
-
Optional: Helping hands from a family member or friend
-
Measuring tape (if you haven’t already measured your dog)
Before beginning, ensure the harness is clean and free from any damage. Check for broken buckles, frayed fabric, or loose stitching that could compromise its integrity. A well-maintained harness not only looks better but also provides more reliable support and control during walks.
If this is your first time using a harness, take a moment to familiarise yourself with its design. Most harnesses have multiple adjustment points to ensure a secure and comfortable fit. Some feature quick-release buckles, while others might require more manual adjustment. Understanding these mechanisms beforehand will help you put the harness on more confidently.
Below is a tools and accessories table summarising the key items you should gather before beginning the harness fitting process. This helps ensure ease and comfort throughout.
| Item | Purpose | Optional/Essential |
| Harness (correct size) | Primary equipment for dog restraint | Essential |
| Treats | Positive reinforcement and rewards | Essential |
| Calm, quiet fitting area | Reduces anxiety and distractions | Essential |
| Measuring tape | For accurate chest measurement | Optional |
| Helper (family/friend) | Assists with holding and calming dog | Optional |
| Clean harness (undamaged) | Ensures safety and comfort | Essential |
Remember that patience is crucial during this process. Dogs can sense your emotions, so maintaining a calm and positive demeanour will help your pet feel more relaxed and cooperative. If your dog seems anxious or resistant, take breaks and offer reassuring pets and treats to create a positive association with the harness.
Step 2: Adjust the Harness to Fit Your Dog
Adjusting a dog harness correctly is a critical step that ensures both comfort and safety for your furry friend. A poorly fitted harness can cause chafing, restrict movement, or even slip off during walks, potentially putting your dog at risk. The goal of this step is to create a secure fit that allows freedom of movement while preventing escape.
Begin by laying the harness flat and identifying its key adjustment points. Most harnesses have multiple straps around the chest and belly that can be lengthened or shortened. Start with the chest strap, which is typically the primary point of adjustment. Loosen the straps completely before attempting to put the harness on your dog. This makes the initial fitting much easier and prevents unnecessary struggling.
At Pup Chic we have four styles of harness:
-
A XXXS strap harness for tiny puppies that goes over the head with a clip on the chest, it also has two neck buckles and one chest buckle to get the perfect fit
-
Adjustable chest harness which goes over the head with buckles on the neck and chest to adjust and has one or two clips on the chest
-
A step-in adjustable harness, this has a clip on the neck and chest so it doesn’t go over the head and still has a buckle on the neck and chest to adjust for the perfect fit
-
A tactical dog harness which had three clips so it doesn’t go over the head and four buckles to get the perfect fit. This style usually has more adjusting compared to the other harnesses, so if you have a growing puppy you may find this harness will last you longer before you need to size up and you might not nee to start with such a small size
When placing the harness on your dog, pay close attention to its orientation. Most harnesses have a clear front and back section. If the harness is padded on on side and straps on the other, the padded section usually goes on your dogs chest and the straps on their back. The D-ring for attaching a leash should sit centrally on your dog’s back. Gently guide your dog’s head through the neck opening, then help them step into the body of the harness. If your dog seems hesitant, use treats and a calm, encouraging voice to make the process more comfortable.
Once the harness is on, begin tightening the straps incrementally. A properly fitted harness should allow two fingers to slip comfortably between the harness and your dog’s body. This ensures the harness is snug enough to prevent slipping but not so tight that it restricts breathing or movement. Check both the chest and belly straps, adjusting each side carefully.
Look for these key indicators of a good fit:
-
No excessive gaping or loose areas
-
Dog can move freely without the harness shifting
-
No chafing or rubbing around the armpits or chest
-
Comfortable range of motion for walking and sitting
If you have a particularly wriggly or anxious dog, consider having a second person help. One person can hold and calm the dog while the other makes precise adjustments. Some dogs may need multiple attempts to become comfortable with the harness, so patience is key.
Finally, do a movement test. Ask your dog to walk around, sit, and move naturally. Watch for any signs of discomfort or restriction. If the harness seems off, remove it and readjust. Remember that finding the perfect fit might take a few tries, but the effort ensures your dog’s comfort and safety during walks.
Step 3: Position Your Dog for Easy Access
Positioning your dog correctly is a crucial step in successfully putting on a harness. The right positioning minimises stress for both you and your furry companion, making the process smooth and efficient. Your goal is to create a calm, controlled environment where your dog feels comfortable and can be easily managed during harness fitting.
Choose a location that is familiar and comfortable for your dog. This might be a quiet area of your home where your dog feels secure, such as near their bed or in a space where they typically receive treats and positive attention. Avoid crowded or noisy areas that might cause unnecessary anxiety or distraction. If your dog is small, you might choose to place them on a raised surface like a bench or grooming table, ensuring they feel stable and supported.
For larger dogs, positioning is equally important. Ask your dog to sit or stand in a relaxed stance. If your dog is not naturally calm, use gentle verbal commands and have some high-value treats nearby to encourage cooperation. The key is to create a positive association with the harness-fitting process. Speak in a soft, reassuring tone and move slowly to prevent your dog from becoming nervous or excited.
Consider these positioning strategies depending on your dog’s temperament:
-
For calm dogs: Allow them to stand naturally with slight side access
-
For more energetic dogs: Have a helper gently hold and soothe them
-
For smaller dogs: Lift and position them at a comfortable height
-
For nervous dogs: Use treats and gentle praise to maintain relaxation
Pay attention to your dog’s body language throughout this process. Signs of stress might include pinned-back ears, whale eye (showing the whites of their eyes), or tension in their body. If you notice these signals, pause and offer reassurance. Some dogs might require multiple short sessions to become comfortable with harness fitting.
Here is a checklist table to help you verify that the harness is properly fitted and comfortable for your dog before heading out for a walk.
| Fit Criteria | What to Look For | Pass/Fail |
| No excessive gaping | Harness sits close to your dog without loose areas | |
| Free movement | Dog can walk and sit without restriction | |
| No chafing or rubbing | No signs of irritation around armpits or chest | |
| D-ring position | Harness D-ring is centrally positioned on the back | |
| Comfortable breathing | Harness does not restrict breathing or cause discomfort | |
| Two-finger test | You can slip two fingers easily under the harness | |
| No red marks after wear | No redness after initial use |
Remember that consistency and patience are your greatest tools. Each time you put on the harness, follow a similar positioning routine. This helps your dog understand what to expect and reduces anxiety. With practice, your dog will learn that harness time is a positive experience filled with treats, praise, and potential adventure. The goal is to make this process feel like a normal, unremarkable part of your daily routine.
Step 4: Slip the Harness Over Your Dog’s Head
Slipping the harness over your dog’s head requires gentle technique and patience. This step transforms the harness from a piece of equipment into a comfortable accessory your dog will learn to associate with positive experiences. The key is to move slowly and confidently, using a calm approach that keeps your dog relaxed and cooperative.
Begin by holding the harness with the neck opening facing your dog. If your harness has a buckle or clip, ensure it is loosened completely to create maximum flexibility. Gently guide your dog’s head through the neck opening, using your fingers to help widen the hole if necessary. Some dogs might be hesitant, so use a soft, encouraging voice and have treats nearby to make the experience pleasant.
Pay close attention to the harness orientation. The D-ring for leash attachment should sit centrally on your dog’s back, which means the harness must be positioned correctly before fully securing it. If the harness feels twisted or uncomfortable when first placed over the head, remove it and start again. Rushing this step can create negative associations and make future harness attempts more challenging.
For dogs who are nervous or resistant, consider these strategies:
-
Use high-value treats to create positive motivation
-
Break the process into smaller, gentler steps
-
Allow your dog to sniff and investigate the harness first
-
Practice short, frequent training sessions
-
Reward even small moments of cooperation
Once the neck opening is in place, check that the harness sits comfortably. The fabric should not press uncomfortably against your dog’s neck or restrict breathing. You should be able to slip two fingers easily between the harness and your dog’s skin. If the fit feels tight or your dog shows signs of discomfort such as pawing at the harness or looking anxious, pause and readjust.
Consistency is crucial in making harness wearing a normal part of your routine. Each time you put the harness on, follow the same gentle approach. Some dogs might take multiple attempts to become comfortable, so patience and positive reinforcement are your most important tools. By making this process calm and rewarding, you transform harness time from a potential struggle into an exciting prelude to walks and adventures.
Step 5: Fasten the Harness and Check the Fit
Fastening the harness is the critical moment where preparation meets execution. This step transforms your carefully adjusted harness into a secure, functional piece of equipment that will keep your dog safe and comfortable during walks. The process requires attention to detail and a gentle touch to ensure maximum comfort and security.
Begin by locating the buckles or clips on the harness. Some harnesses feature side-release buckles, while others might have traditional metal clips or over-the-head designs. Carefully align the buckle components, ensuring they are not twisted or caught in any fabric. If you encounter resistance, pause and smooth out any potential snags before attempting to fasten.
When fastening, apply steady but gentle pressure. The goal is a secure fit that allows two fingers to slip comfortably between the harness and your dog’s body. Too loose, and the harness might slip off during walks. Too tight, and you risk restricting your dog’s movement or causing discomfort. Listen to your dog’s body language during this process. Signs of discomfort include fidgeting, attempting to remove the harness, or showing signs of stress.
Consider these key verification points when checking the harness fit:
-
No excessive gaping around chest or belly
-
Ability to move arms and legs freely
-
No chafing or red marks after initial wear
-
D-ring sits centrally on the dog’s back
-
Comfortable breathing and no restriction of movement
For dogs new to harnesses, the first few moments can be challenging. Some dogs might freeze, shake, or attempt to remove the harness. This is normal. Remain calm and use positive reinforcement. Offer treats, gentle praise, and short, encouraging interactions to help your dog associate the harness with positive experiences.
Practice makes perfect. The first few times you put on the harness might feel awkward, but you will quickly develop a smooth technique. Each dog is unique, and what works for one might need slight adjustment for another. Pay attention to your dog’s individual comfort and be prepared to make small modifications. Remember that a well-fitted harness is not just about physical security, but also about creating a sense of comfort and trust between you and your furry companion.
Step 6: Take Your Dog for a Short Test Walk
A test walk is the ultimate validation of your harness fitting process. This crucial step transforms theoretical adjustment into practical application, allowing you to confirm the harness works perfectly for your dog’s unique movement and comfort. The initial walk is less about distance and more about assessing how the harness performs in real-world conditions.
Begin by selecting a quiet, familiar area for your first test walk. This might be your garden, a calm street, or a nearby park with minimal distractions. The goal is to create an environment where you can closely observe your dog’s movement and comfort without additional stress. Attach the leash to the harness’s D-ring, ensuring a secure connection that allows your dog some natural movement.
Watch your dog’s body language carefully during this initial walk. Signs of a well-fitted harness include fluid movement, no visible discomfort, and no attempts to remove or shake off the harness. Pay attention to how the harness sits while your dog is walking. It should remain stable, not rotating or sliding to one side. If you notice any unusual shifting or your dog seems uncomfortable, this indicates the harness needs readjustment.
Consider these key observation points during your test walk:
-
Dog moves naturally without restriction
-
No chafing or rubbing around armpits or chest
-
Harness remains centred and stable
-
Dog appears relaxed and confident
-
No excessive pulling or discomfort
Remember that the first test walk might feel slightly awkward for both you and your dog. Some dogs may initially walk differently, almost testing the new sensation of the harness. This is completely normal. Stay patient and offer gentle encouragement. Short, positive experiences will help your dog adjust quickly and develop a positive association with the harness.
Practice makes perfect. If you notice any minor issues during the first walk, don’t be discouraged. Small adjustments to the harness straps can make a significant difference. Some dogs might require a few test walks to become completely comfortable. Treat each walk as a learning opportunity, always prioritising your dog’s comfort and confidence. With time and patience, the harness will become a natural, welcomed part of your walking routine.
Discover Effortless Style and Comfort for Every Walk
If you have ever struggled to find a harness that fits just right or worried about your dog’s comfort and safety during walks, you are not alone. The guide above highlighted common issues like achieving the perfect fit, ensuring your pup moves freely, and transforming tense harness moments into positive experiences. At Pup Chic Boutique, we understand that comfort and confidence go paw in paw. Our thoughtfully designed harnesses and accessories are inspired by real dog mums who care about their dog’s wellbeing and style. Every item is UK-designed and refined with customer feedback, giving you functional fashion you can trust.
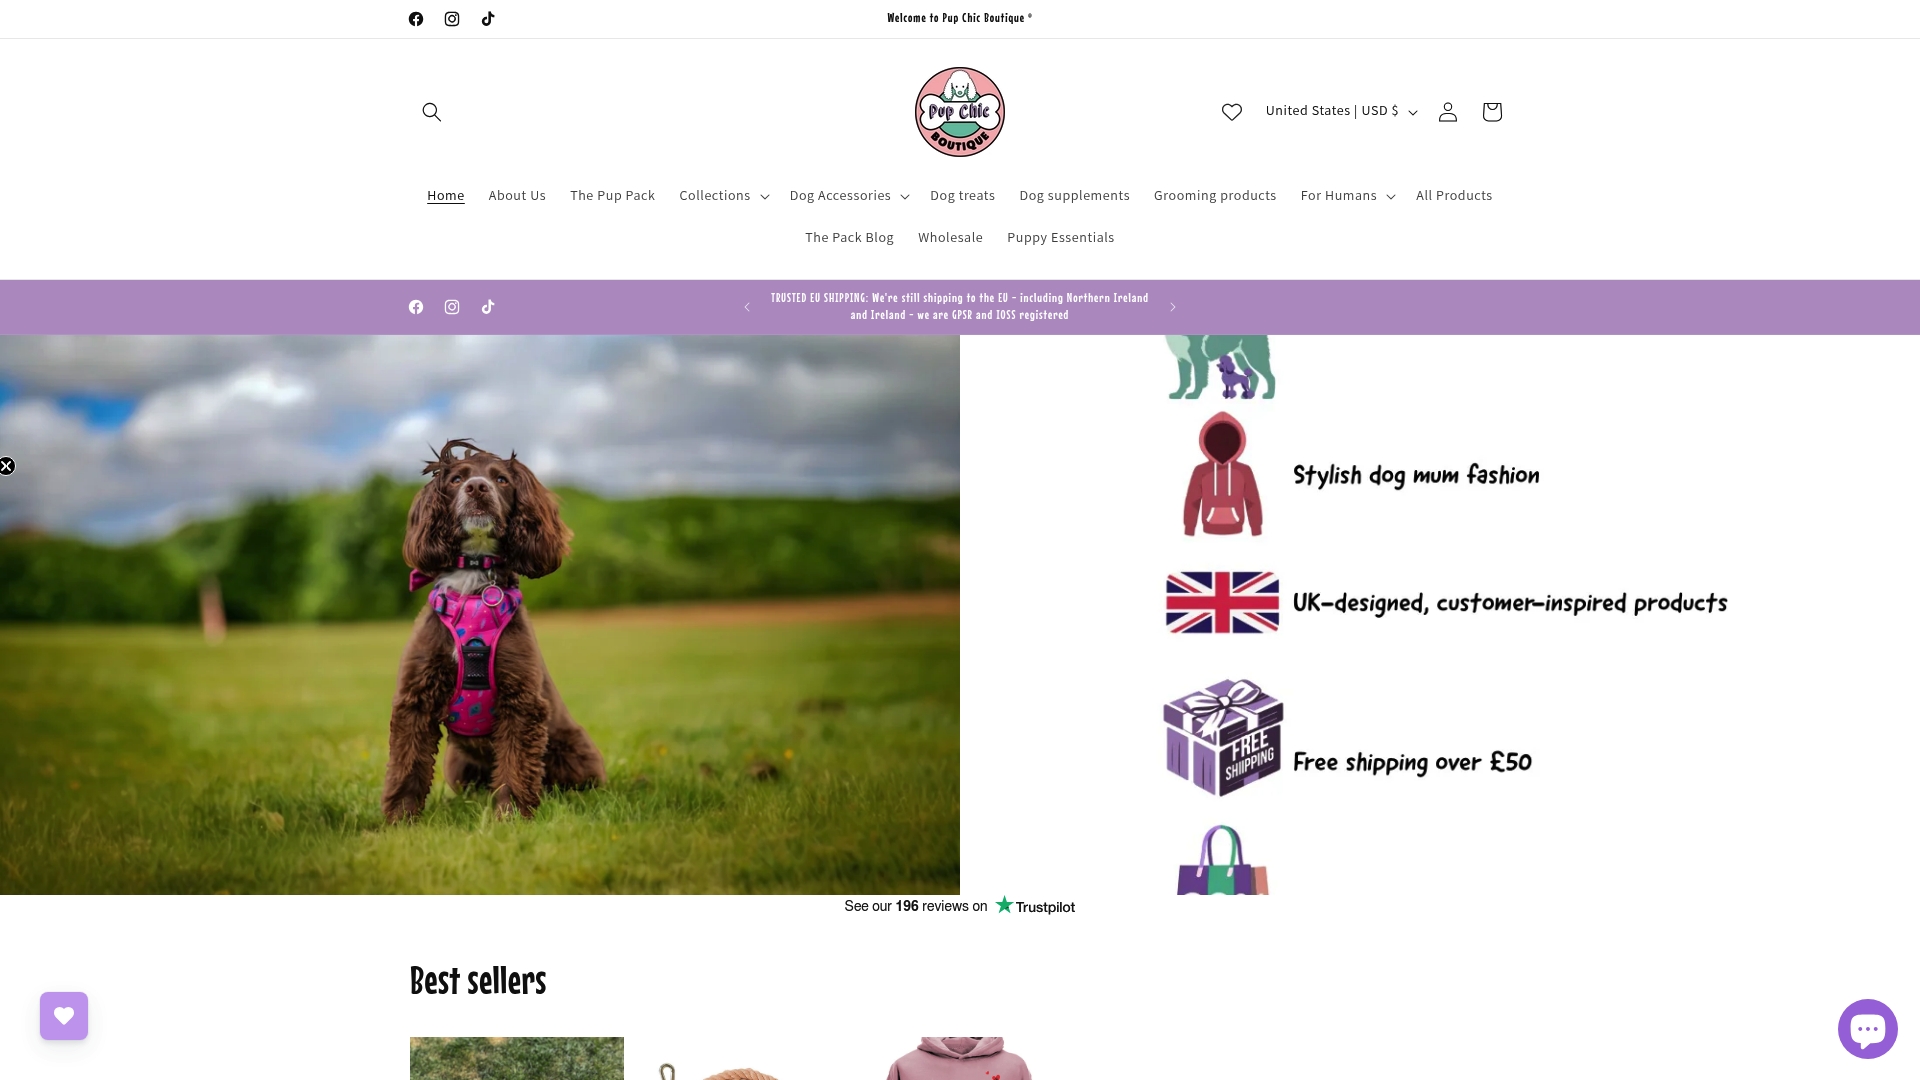
Imagine stress-free fittings, no more fidgeting, and an eye-catching look for your furry friend. Choose from a variety of chic and practical harnesses and explore matching accessories and treats to turn every outing into a special occasion. Visit our main site to find your dog’s perfect fit today and make daily walks the highlight of your adventure. Shop now at Pup Chic Boutique while stocks last.
Frequently Asked Questions
How do I choose the right size of harness for my dog?
To choose the right size harness for your dog, measure their chest circumference and weight. Many pet stores offer fitting services or assistance in selecting the right size. Ensure the harness allows two fingers to slip comfortably between the harness and your dog’s body after fitting.
What should I do if my dog is anxious about wearing a harness?
If your dog appears anxious about wearing a harness, create a calm environment and use positive reinforcement, such as treats and praise. Practice short sessions and consider breaking the process into smaller steps to help your dog become more comfortable over time.
How do I know if the harness is properly fitted?
A properly fitted harness should allow two fingers to slip comfortably between the harness and your dog’s body, with no excessive gaping or rubbing. Your dog should be able to move freely without the harness shifting or causing discomfort.
Can I use a harness for all types of dog breeds?
While many harnesses are designed to accommodate various breeds, it’s essential to choose one that fits your dog’s specific size, shape, and breed characteristics. Some harnesses may work better for certain breeds due to their anatomy or behaviour, so checking for the correct fit is crucial.